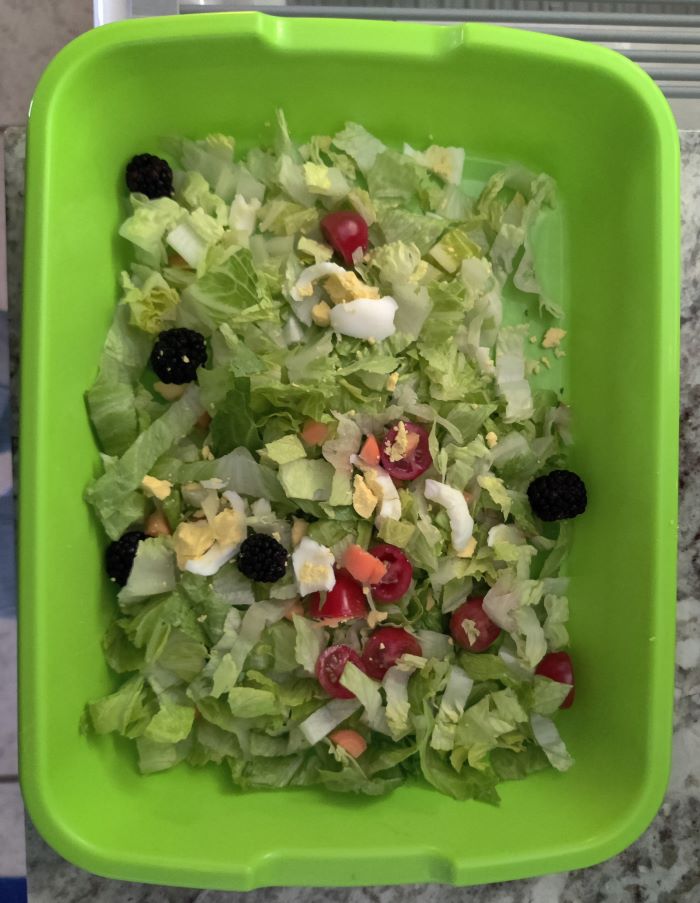
While bagged commercial feed may suffice, there are numerous ways to enhance the overall health of your chickens. I make it a priority to provide my hens with ample greens, including homegrown sprouts, eggs, berries, romaine, tomatoes, and whatever other goodies I can offer them daily. Greens provide essential vitamins, minerals, and nutrients that may not be present in their regular feed. For instance, greens like kale, spinach, and lettuce are rich in vitamins A, K, and C, which are crucial for overall health, immune function, and egg production in chickens. Greens contain dietary fiber, which aids in digestion and helps contribute to the overall gut health of chickens.
Fodder refers to a mixture of sprouted grains and seeds, typically grown hydroponically, and it serves as a nutritious and cost-effective feed supplement for chickens. Growing fodder in trays without soil is known as hydroponic fodder production. It allows you to grow nutrient-rich grass or grains for your chickens in a controlled environment without the need for traditional soil.
Why Grow Fodder?
Nutritional Value:Fodder is highly nutritious for chickens. When grains like barley, wheat, or oats are sprouted, they undergo a transformation that increases their nutritional content. Sprouting increases the availability of vitamins, minerals, and enzymes, making the fodder more digestible to chickens. Improved Digestibility: Sprouted grains are easier for chickens to digest compared to whole grains. This can lead to better feed conversion rates, which means chickens can convert the fodder into meat and eggs more efficiently. Fresh and Green Feed:Fodder provides chickens with fresh, green feed, which is similar to their natural diet. This can enhance the overall health and well-being of the birds. Fresh feed can also boost egg production and improve meat quality. Seasonal Flexibility:Growing fodder allows you to have a consistent source of green feed throughout the year, regardless of the season. This is particularly valuable in regions with harsh winters or dry summers when pasture quality is limited. Enhanced Egg Yolk Color: Feeding chickens with green fodder can result in brighter and more vibrant egg yolks due to the higher levels of carotenoids present in the fresh green feed. Supplemental Feed Source:Fodder is an excellent supplement in combination with commercial feed, this allows you to stretch your feed resources a little further.
It’s Easy! The Basics:
What You’ll Need
Fodder Seeds: Choose suitable seeds like barley, wheat, oats, or other grasses/grains that are suitable for your chickens. Check your local feed stores for bulk seeds. I bought wheatgrass seed at PowerGrowSystems.com Trays: You’ll need shallow trays or containers with drainage holes to hold and grow the fodder. I like these trays for a small backyard flock, and they’re available on amazon HERE. Note: I prefer to not use the grate because it’s hard to remove the sprouts when ready to harvest. Instead, I drilled holes in the bottom tray and set it inside the clear cover on an angle to catch the water.
Watering System: A way to provide a consistent source of water to the trays, such as a misting system or manual watering. Light Source:Fodder crops require light for photosynthesis. Natural sunlight or artificial grow lights can be used. Temperature Control:Ensure the temperature is suitable for the selected seeds (usually around 60-75°F or 15-24°C). You can grow fodder indoors under a sunny window or under a grow light. Ventilation:Adequate ventilation helps prevent mold and provides fresh air to the growing fodder.
Ready To Get Started?
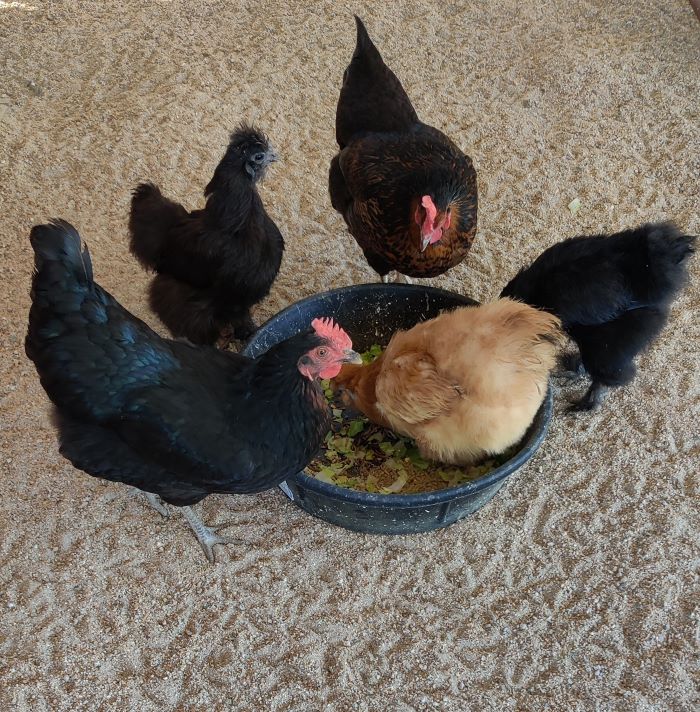
Select and Soak Seeds: Choose high-quality fodder seeds. Soak the seeds in water for 8-12 hours to initiate the germination process. Spread Seeds: Spread the soaked seeds evenly on the trays. The seeds should form a dense layer, but they shouldn’t be stacked on top of each other. Watering:Water the seeds thoroughly to ensure they are evenly moist, but avoid waterlogging. You can use a misting system to keep the seeds consistently moist. Light and Temperature: Place the trays in a well-ventilated area with access to light. If using artificial grow lights, ensure they are set at an appropriate distance to provide sufficient light and warmth. Maintain Moisture: Check the trays regularly to ensure the seeds remain moist. Mist them as needed, but don’t let them dry out or become waterlogged. Growth and Harvest:Depending on the type of seed and growing conditions, your fodder should be ready to harvest in 7-10 days. Feed Your Chickens: Remove the harvested fodder and feed directly to your chickens. It’s highly nutritious and is a good source of fresh forage. Repeat the Process: Rinse and repeat the process, starting with new trays of seeds, to maintain a continuous supply of hydroponic fodder.
It’s important to note that while growing fodder for chickens has numerous benefits, I wouldn’t consider it a replacement for all other types of feed. It’s essential to balance the diet to meet the specific nutritional needs of your chickens, especially if you are raising them for meat or egg production. You can always adjust the process and conditions based on your specific requirements and the type of seeds you’re using.
 While bagged commercial feed may suffice, there are numerous ways to enhance the overall health of your chickens.