Chickens Are Built for the Cold, But Proper Shelter is Key

As temperatures drop, it’s common for chicken keepers to wonder whether they should add heat to the coop. In most situations, the answer is no. Healthy adult chickens are surprisingly cold-hardy and don’t need supplemental heat to get through winter. Their feathers provide excellent insulation, and they stay warm by fluffing up and roosting together. When we add heat, we prevent chickens from fully acclimating to cold weather, which can make them more vulnerable if the power goes out or the heat source suddenly fails.
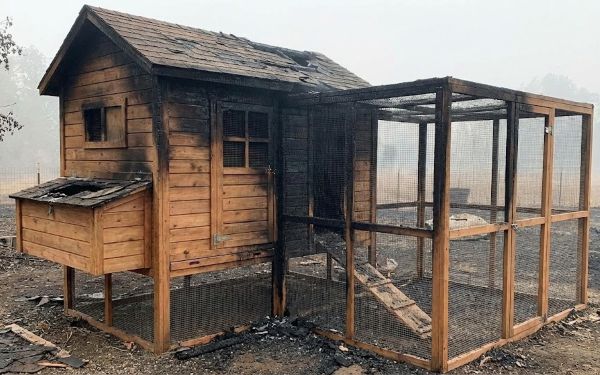
The Danger of Heating a Coop
Safety is another big reason to skip added heat. Traditional heat lamps and space heaters are one of the leading causes of coop fires. With bedding, dust, feathers, and curious birds, the risk of accidents is real, and most coop fires happen at night. Even without a fire, heated coops can cause problems. Sudden temperature swings, like stepping from a warm coop into freezing air, increase the risk of frostbite and respiratory illness.
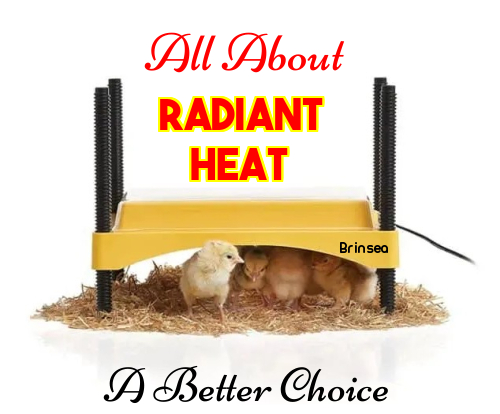
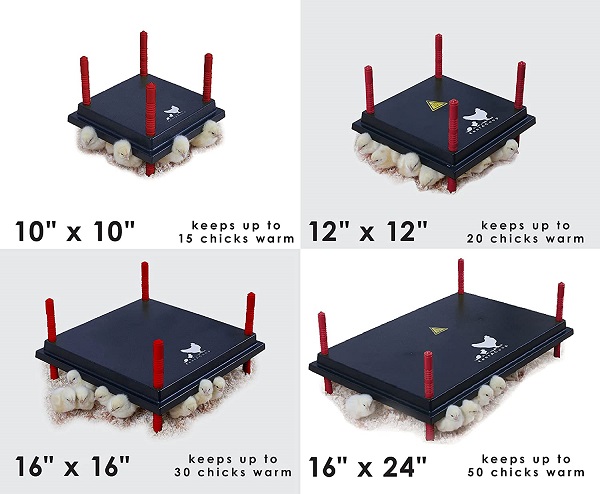
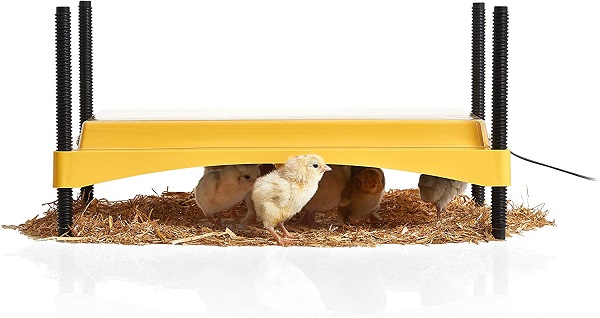
Radiant Heat Panels: Safer, But Still Usually Unnecessary
Radiant heat panels are often marketed as a safer option, and compared to hanging heat lamps, they can be lower risk. They don’t have exposed bulbs and provide gentle warmth instead of heating the entire coop. In special situations, such as caring for chicks, injured birds, or ill chickens, radiant heat can be helpful as a temporary, medical support tool. For most healthy adult flocks, however, they aren’t needed. They still rely on electricity, can fail unexpectedly, and may prevent chickens from fully adapting to winter temperatures.
What Really Matters is Ventilation
What matters far more than adding heat is a coop that’s dry, draft-free, and well ventilated. Cold air by itself isn’t the enemy, moisture is. Without proper ventilation, moisture from breathing and droppings builds up overnight, leading to frostbite, ammonia odor, and respiratory problems. The goal is to block direct drafts at roost level while allowing airflow above the birds’ heads, keeping bedding clean and dry all winter long.
Focus on good coop design, proper airflow, and overall flock health, and your chickens will come through winter just fine without added heat.
Cold Doesn’t Kill Chickens, But This Definitely Will