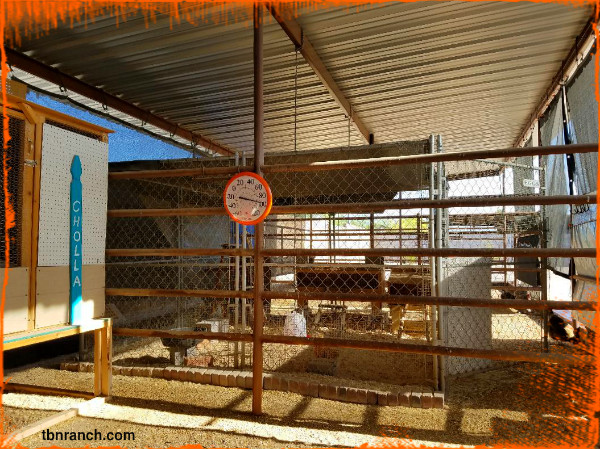
It’s been a rough summer for our hens here in Phoenix. The temperatures have soared to 117 and averaged around 110 for more than 35 days since June. And… only one day of rain, in the last 4 months. But my hens are doing great! Why, how? Well, my girls are in a large 10×10 covered pen inside a covered shedrow barn. They have shade tarps on the south, east & west side for protection from the sun. I hang a simple box fan on their pen, and a mist system far enough away to keep the pen dry, but cooler.
Shedrow BarnCoop Inside
Here they are today, the outside temperature is 110, and 108 in the barn, no panting, or holding their wings away from their sides. They are smart enough to find just the right spot where they can catch a cool breeze from the mister, and as you can see, they are resting comfortably. 🙂
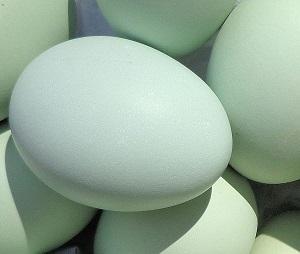
This year we are raising Ameraucana (Easter Egger hybrids) and Silver Laced Wyandottes. The Easter Egger will lay blue-green medium-size eggs and the Wyandottes lay brown medium-large eggs. Both breeds are docile and friendly, however, the Easter Eggers’ personality is best described as aloof.
This flock will begin to lay these beautiful colored eggs in about 5-6 months.
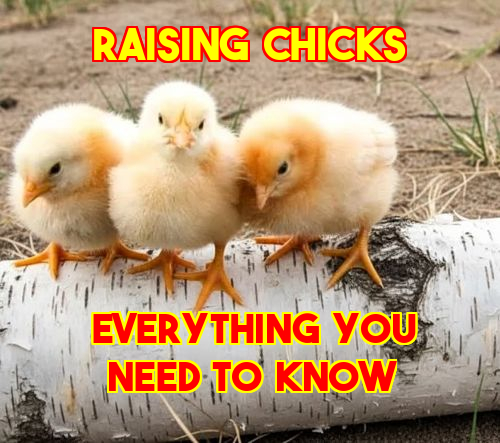
From coop building tips to feeding guides and health care advice, there’s a lot to learn. This post gathers the best tools and guides for every stage of your chicken keeping journey.
Baby Chicks
Raising Baby Chicks
The First 7 Weeks A comprehensive guide to preparing for and managing baby chicks with a step-by-step approach. Read Article/ TBN Ranch
Fecal impaction is a common issue among young chicks and can be fatal if ignored. Learn the signs and how to avoid this problem. Read Article / TBN Ranch
A chick brooder is a specialized enclosure or container created to offer a cozy and secure setting for recently hatched chicks. Here are the many types to choose from. Read Article / TBN Ranch
Managing the Brooder Temperature
This guide aims to assist you in ensuring their comfort by providing insights into their behavior, whether you choose to use a heat lamp or the modern radiant heat alternative. Read Article/ TBN Ranch
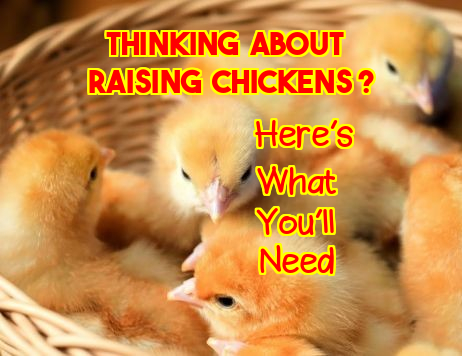
Thinking About Raising Chickens? Read These Articles First
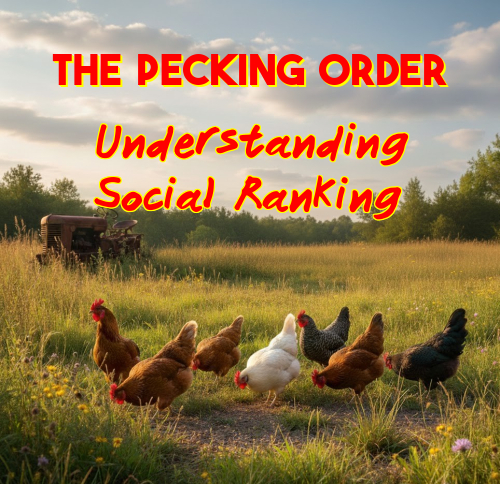
Often the stronger or larger birds rank highest in the social order. This article will help you learn how to minimize drama when bullying becomes excessive. TBN Ranch
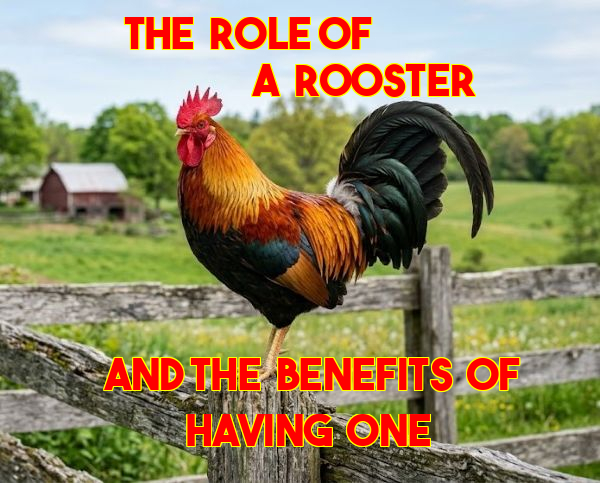
The primary role of a rooster in a flock of chickens is to fertilize the eggs laid by the hens. Aside from fertilizing eggs, roosters also play a protective role in the flock. Continue Reading/ TBN Ranch
Seasonal Chicken Keeping
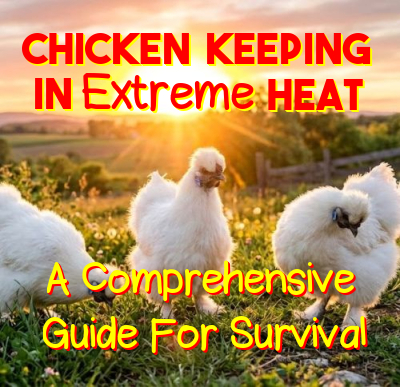
Keeping Chickens in Extreme Heat
Is your chicken yard and coop adequately designed to support the overall welfare of your flock during the summer season? It is crucial to make necessary preparations for extreme heat to prevent your birds from experiencing heat exhaustion and related issues. Read Article / TBN Ranch
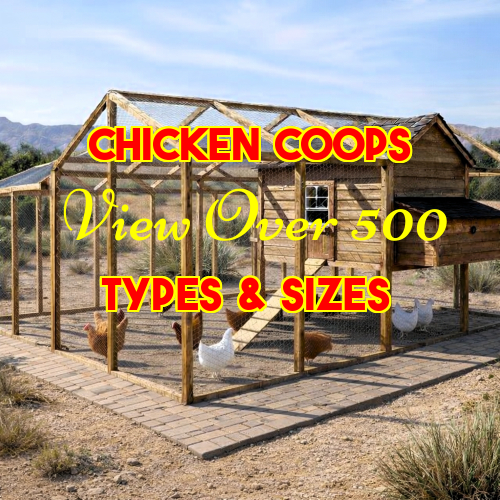
Are you interested in a traditional design, something unique and unconventional, a do-it-yourself project, or maybe a more elaborate setup? View Now / TBN Ranch
Drinkers / Waterers
So many to choose from, but which one best fits your flock’s needs? Auto-fill, nipple, standard fill, or DIY, view them all in one convenient place HERE/ TBN Ranch
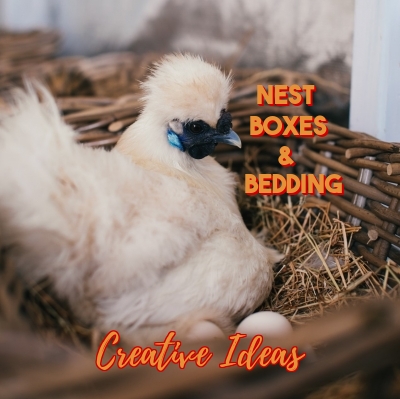
Nest boxes play a vital role in supporting both chickens and their caretakers, offering a range of benefits. Discover numerous suggestions to assist you in selecting perfect nest boxes. View Now / TBN Ranch
Creative Roost Ideas
There are so many different types of roosts, which one is best for your coop? Your birds need something suitable to roost on at night. Be creative! Here are over 50 types to inspire you. View Now / TBN Ranch
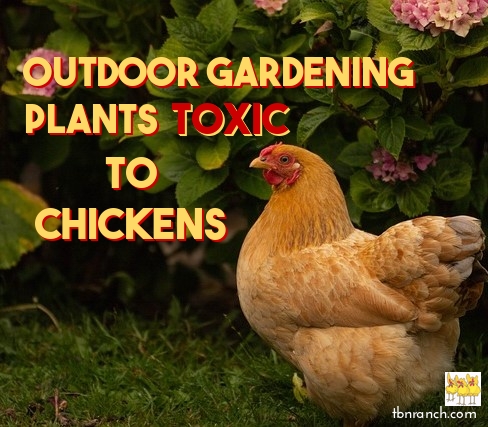
There are several common outdoor plants that are generally considered toxic to chickens, which makes it important for poultry owners to be aware of these potential hazards. Read ArticleTBN Ranch
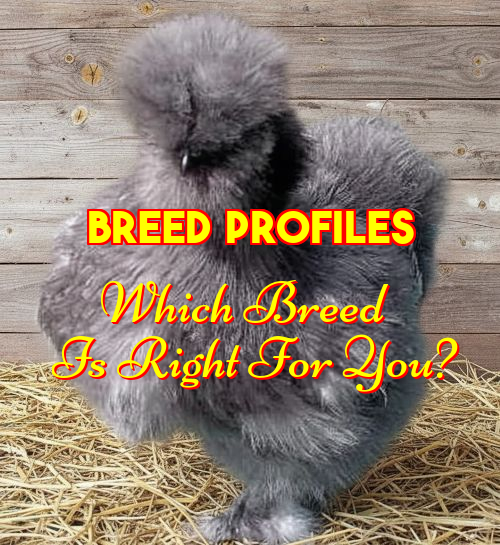
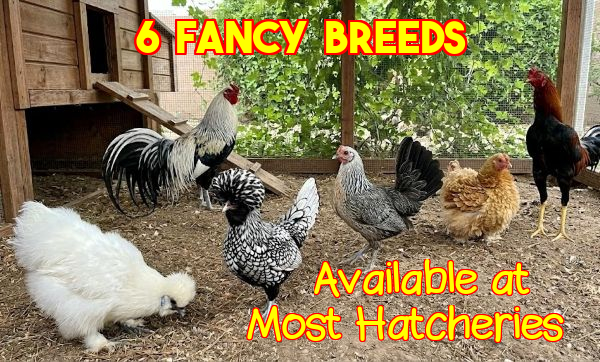
There exists a wide array of exquisite chicken breeds, each presenting its own unique qualities. We will delve into the particulars, including temperament, egg size, egg color, egg production, and primary use. Breed Profiles/ TBN Ranch
The quality and safety of eggs can differ due to various factors, such as storage methods and whether they are raw or cooked. Nevertheless, I can provide you with fundamental safety guidelines. Read Article / TBN Ranch
Hatcheries for Mail-Order Chicks
Hatcheries
Explore my collection of top-notch hatcheries. I’ve have personally purchased chicks from many of these hatcheries and have been consistently satisfied. Read Article / TBN Ranch


 From coop building tips to feeding guides and health care advice, there’s a lot to learn. This post gathers the best tools and guides for every stage of your chicken keeping journey.